One of the handiest tools for a woodworker is a drill press. It is a tool that can be used to drill holes in wood, metal, plastic or any other material that is workable in a drill press. They come in many different sizes and shapes, ranging from small benchtop drill presses to large floor-standing drill presses.
However, if you don’t have a drill press, you can still make perfectly straight holes, you just need to use some different techniques. In this article, we will look at how to drill a straight hole without a drill press and how to get the job done right.
Helpful Tools for Straight Drilling
Contents
In addition to the standard straight drill bit, there are a few additional tools you may find helpful when drilling straight holes. Let’s see them.
Drill guide
A portable drill guide is a must-have tool for anyone who’s serious about woodworking. It’s simple to use, easy to make and works like a charm. The hand drill guide is one of the most versatile tools you’ll ever use. It will hold any size bit, use any size auger in any size hole.
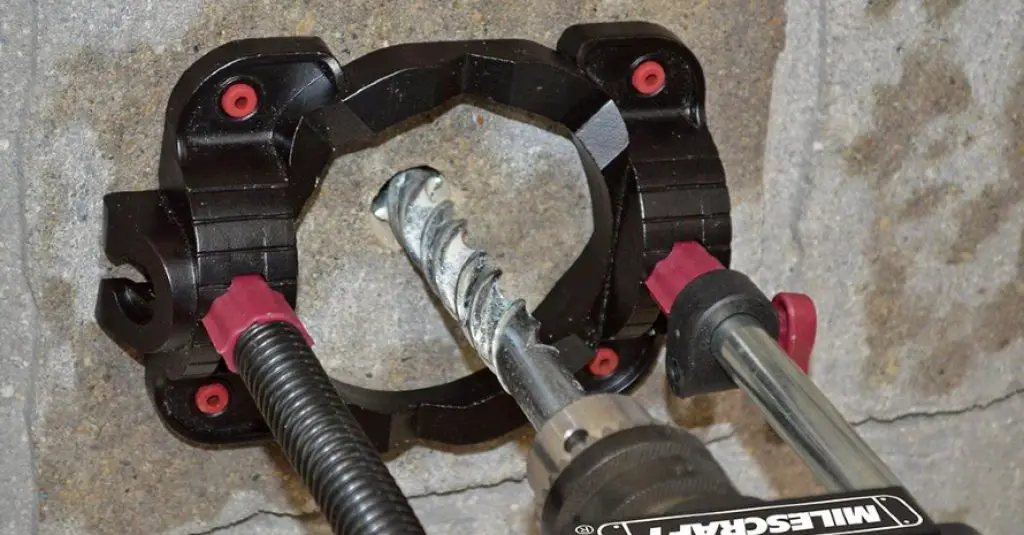
It can be used for drilling straight holes or curved holes with any type of auger, from a hand to a cordless drill. You can also make a DIY drill guide. It is made of two pieces of scrap wood, one that screws into the workpiece, and one that holds the bit.
The auger guide is simple to make, but the key to its success is the fact that it does not move!
Drill jig
Another useful tool is a drill guide jig. Drill jigs are used to make holes with diameter, depth, and point angle accurate to 0.01 mm. Typical jigs are mainly used to make holes into workpieces with cylindrical or conical bores, all holes will be concentric.
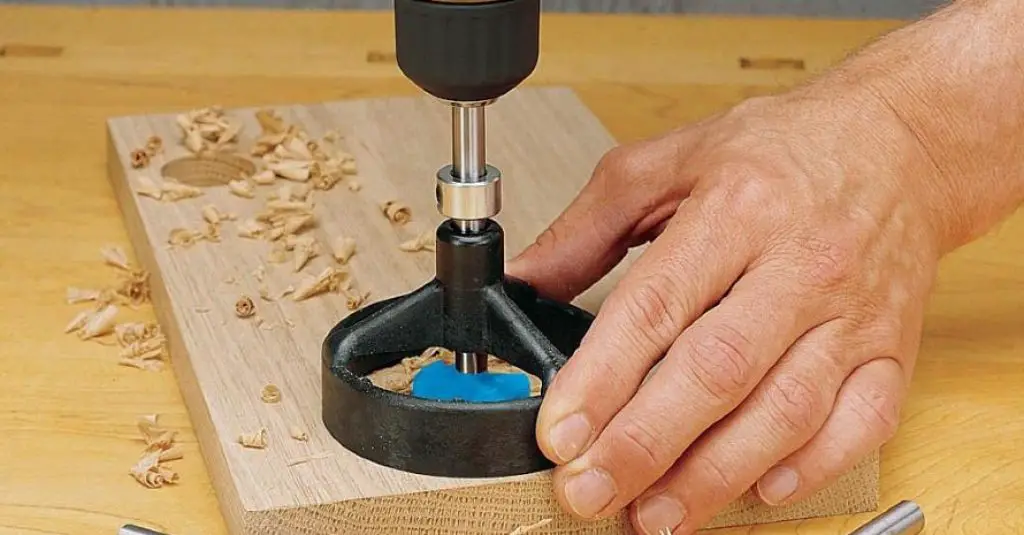
Jigs can be as simple as a straight stick with a hole drilled through it. This auger jig is a basic form of a “drill, jig, and a block.” Other models can be as elaborate as a set of wooden blocks with a hole drilled in each block. The model is mounted on the top block, and the jig is lowered onto the drill press table.
For example, a drill angle jig is mounted on the drill press table with the help of two adjustable arms. This allows the modeler to drill holes at precise angles (or at various angles) in the model.
How To Drill Straight Holes? – Step-by-step Guide
It’s what you’ve been waiting for, a step-by-step guide to drilling straight holes. It’s not always easy, but with practice, it can be done.
Step 1 – Make an alignment mark
The first thing you want to do is make so you have some sort of reference for lining up the drill bit to the edge of the material you are trying to drill. This will make it easier to keep the auger bit perfectly aligned with the side of the hole.
You can do it using an awl, nail, pencil, or whatever you like. It can be as simple as a few scratches. I prefer using an awl to create a starting divot.
Step 2 – Select the right torque setting
The torque is a setting that regulates how much pressure is applied to the drill bit. Too high a torque and the bit will be overworked, and it will break. Too low a torque and the bit will not bite into the material, and the hole will end up uneven.
To change the torque setting on your drill press, you need to loosen the wing nuts that are holding the chuck down. The torque setting is represented by a number that is located on the picture of the wrench that is attached to the chuck.
Step 3 – Select the speed
The rotational speed is controlled by simply turning the speed dial on the drill press. Squeeze the trigger on the drill press to start the motor. Slowly rotate the speed dial until the desired speed is reached.
You can select any speed you like, but I find that to get the most consistent results, start off slow.
Step 4 – Select the correct bit
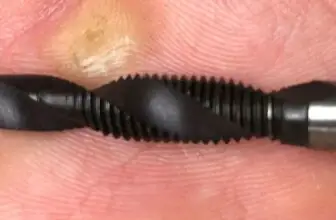
There are many different types of drill bits, and they all have different sizes. The hole you are trying to create will dictate which bit you need to use. Helical, Jennings, spiral, twist, and spade bits are some of the most common. The type of bit you use will depend on the material you are drilling.
For the most part, any bit will do, but I recommend using a twist bit. This bit has a spiral flute that helps to stabilize the auger bit inside the material. The spiral flute also helps to keep the bit centered as you drill down.
Step 5 – Start the hole
Slowly lower the drill bit into the starting divot you created. Take your time and be careful not to rush the process. The drill bit should be level as it is lowered into the material. If you start with the bit tilted to one side or the other, the hole will be slightly off-center.
Holding the drill level and steady, squeeze the trigger to start the auger bit spinning. Gently push the drill bit into the material until the front of the hole is reached.
Before starting the hole, you need to make sure the bit is perfectly aligned with the side of the hole. For this, I use the alignment marks I created during step 1.
Step 6 – Continue drilling
When the drill bit makes contact with the material, it will start spinning again. Continue lowering the drill bit into the material. You must continue to hold the drill bit level. If the bit tilts, the hole will be a bit off-center.
For accurate results, you need to make sure the auger bit stays level as the hole is drilled. Help keep the drill bit level by applying downward pressure on the drill press handle.
Step 7 – Stop drilling
Once the required depth is reached, stop drilling. The depth of the hole can be measured using painter’s tape. Wrap it around the part and mark the point where the drill bit exits the material.
Step 8 – Clean up the hole
This is the final step to making a perfectly straight hole without a drill press. Use a file or belt sander to smooth the hole.
FAQ
This section deals with frequently asked questions about drilling and hole making.
How do you make a drill press jig?
You will need to make a drill press jig if you want to drill a hole with a hole saw. A drill press jig is an easy-to-make jig that you can make yourself. The drill press jig has a basic construction of a block of wood, and a guide for the hole saw. The guide is made from a strip of wood that is mounted on a metal frame. The block of wood that holds the hole saw is mounted on the guide of the jig.
What can I use if I don’t have a drill press?
The best alternative to a drill press is a drill guide. It is an alignment device that fits on your drill press or on your auger. It keeps the drill perpendicular to the hole, allowing you to make a perfectly straight hole.
What is the difference between drilling and boring?
Drilling is the process of making a hole with a drill bit. Boring is the process of making a hole with a boring tool.
Can I turn my drill into a drill press?
Yes, you can. It may require a few extra accessories to do this, but you’ll be able to use your drill as a drill press.
The Bottom Line
If you don’t have a drill press, don’t worry, you can still make a straight hole with a hand drill. If you use the method described in this article, you will be able to make holes in wood, plastic, and metal that are truly straight and perpendicular to the surface.
If you found this article helpful, please share it with others and feel free to leave a comment.