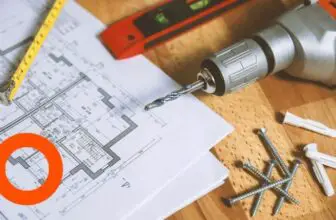
Hobbyist or professional, wood or metal, one is always improving skills. Many years ago, I made my fair share of mistakes without knowing how to use a drill press. I bet you might want to avoid most of them because, to be honest, they may cost you a pretty penny. So here are some drill press basics that might help you.
What Is a Drill Press and What You Can Do With It
Contents
In simple words, a drill press is a drill on a column. The benefit of this is that the bit moves completely perpendicular to the workpiece. A drill press also lets you make identical holes at the same depth. But there are a lot of possible uses for a drill press, so let’s learn about the most popular.
The stepwise instruction
Regardless of what material you are going to work with, there are important steps that you must follow before, during, and after a drill press use. They include some preliminary precautions, preparing an instrument, fixing the workplace, adjusting the height, setting the speed, and cleaning the workplace in the end.
Protect yourself
Some drill presses include a plastic transparent safety guard around the drilling bit to prevent chips and shavings from flying asunder. Use clear safety guards. Before getting to work, study the owner’s manual and follow the security instructions. Using a drill press is pretty safe, but don’t wear gloves or loose clothing that might get caught within the spinning bit. Long hair must be pulled back and secured out of the way. Don’t forget to wear safety goggles to prevent wood chips or metal shards from getting in your eyes.
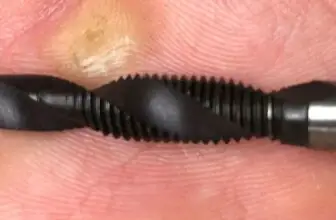
Insert the bit
The result of drilling depends on whether your bits are clean and sharp. Don’t underestimate the importance of the maintenance of the bit to avoid breakage.
Insert the chosen bit straight into the chuck and tighten. Be sure that you have removed the key before you switch on the drill. Don’t attempt this when the machine is operational.
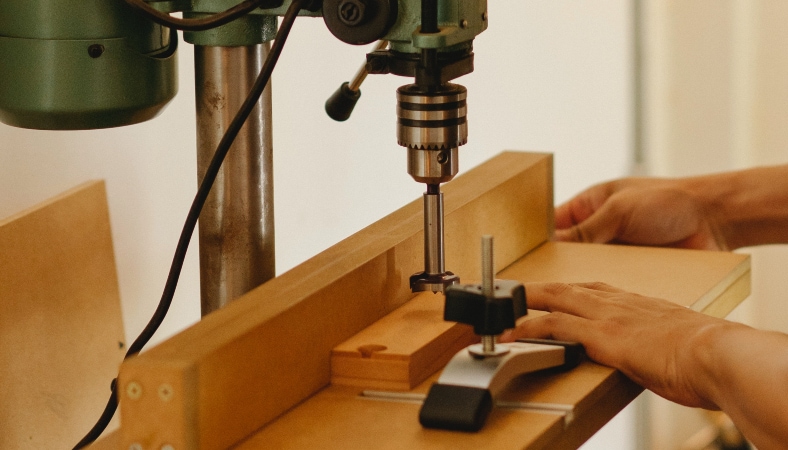
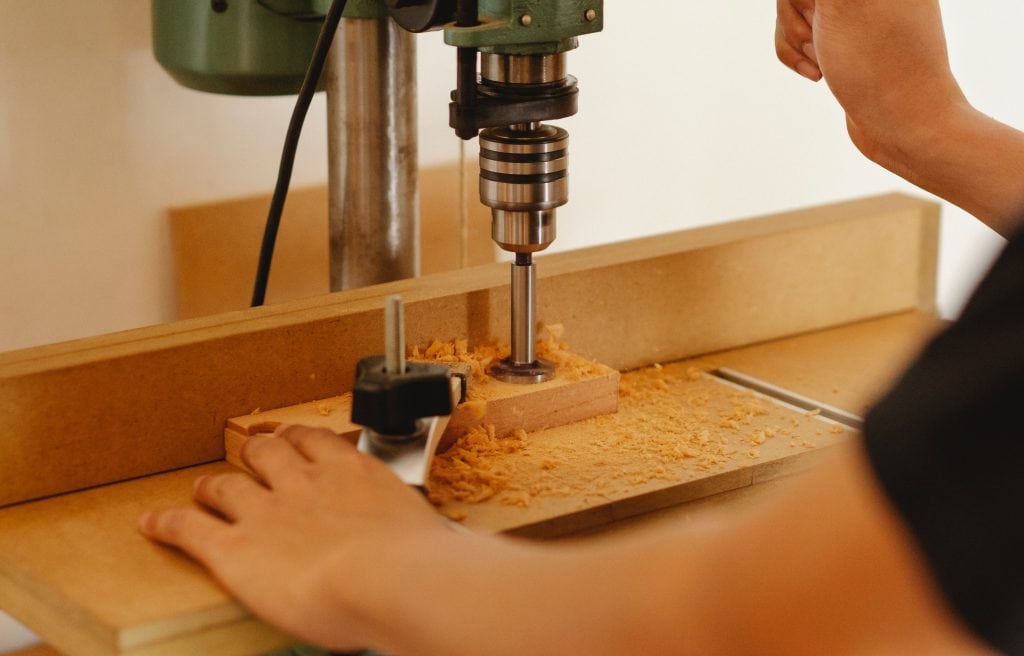
Securely clamp the workpiece
Clamp the workpiece on the drill press table, employing a vice.
Adjust the height
While setting up a drill press, adjust the table to the height that will be comfortable for you.
Set your speed
Adjust the speed of rotation in line with the material (wood or metal, or even plastic) and also the diameter of the aperture you want to make. Typically, the speed is changed with the help of the drive belt. You can find speed charts online to determine the speed accordingly to the material and size of a bit you are using.
Plug the device
After checking the device’s condition, infix the facility cord, then activate the tool.
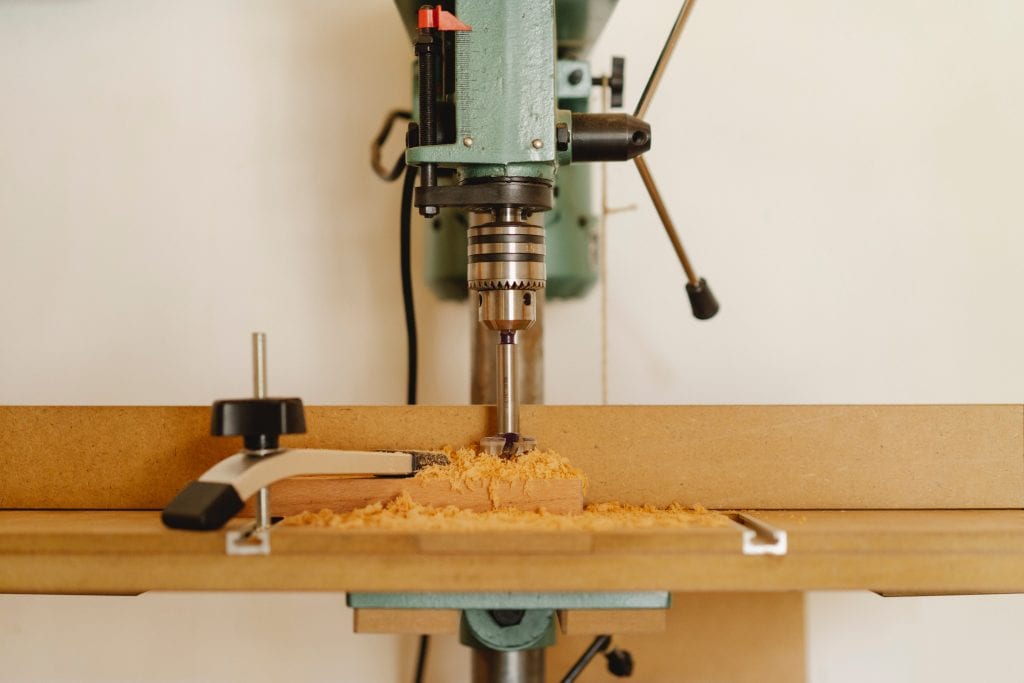
Drill
Pull the lever, softly lowering the bit toward the workpiece. The strength depends on the material. Steel needs more amount of pressure than wood.
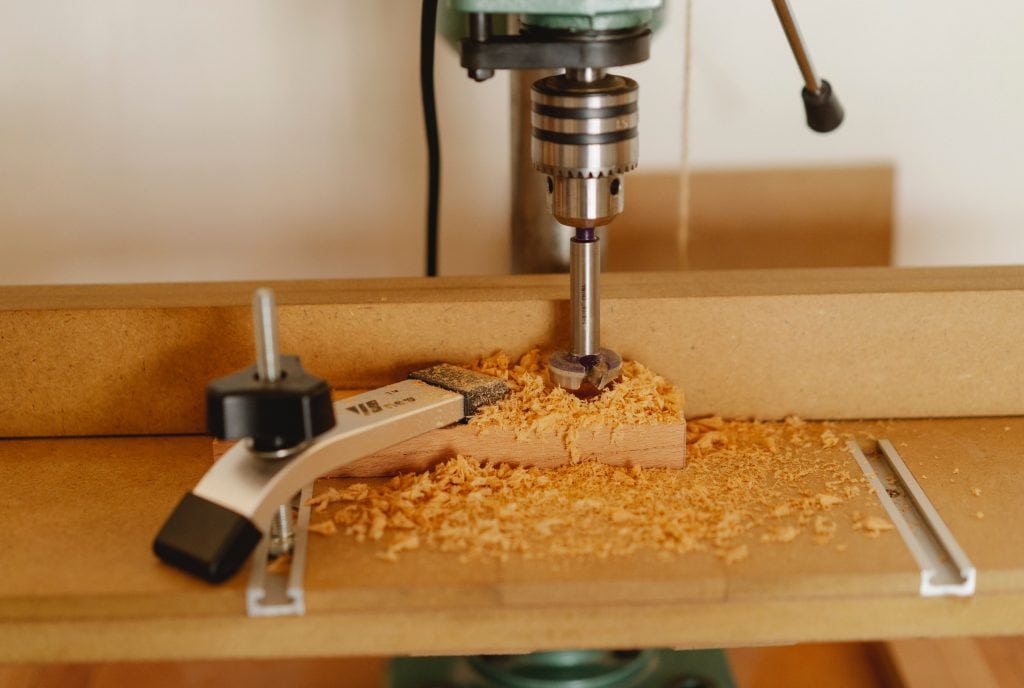
When drilling wood, look for what comes out of the hole. If your bit is sharp enough, you will be getting shavings, not dust.
When drilling metal, shavings must come out as one long spiral, in another case, you use an incorrect amount of pressure. Also, don’t forget to lubricate a drill bit.
If the hole needs to be more than four times deeper than the diameter of the drill, remove the drill from the workpiece from time to time during drilling and clean the chips. In deep hole drilling, the chips might be stuck in flutes very quickly and cause a larger hole than the diameter of the drill.
When drilling thin metals, place another piece of metal or wood under the workpiece to avoid it from bending and ruining the aperture.
Use the depth stop mechanism to prevent the twist drill from traveling too far after cutting through the workpiece.
Stop the engine once the aperture is drilled and unplug the device from the power grid.
What to do with shavings
Even a tiny fraction of metal may cause a lot of problems while working with wood and damage your dust collector. To avoid it, put a shallow box under your workpiece every time you work with metal.
Post-drilling process
At last, remove the workpiece and the bit, and after that, clean the drill. If you have got grease or residue on the bit, wash it with a solvent or degreaser.
Safety Tips
A benchtop drill press is typically mounted to the workbench with bolts to avoid any unintentional movement. A floor model might either be bolted to the ground or encumbered with something heavy, like sandbags, although I cannot recommend such an unstable grip.
That’s why you always should stick to these simple rules in order to avoid unwilling consequences. Regardless of whether you are an experienced craftsman or just a hobbyist, you should know the main rule of drill press operations: safety first.
Emergencies (E-Stop)
An emergency is a case in which an operator of the machine becomes suddenly open to a dangerous situation that must be urgently stopped to stop injury, reduce the severity of any injuries ongoing, and prevent any kind of damage whether to the workpiece or an instrument. Operators’ chances of avoiding injury can be significantly improved if easy accessibility to an e-stop device is provided.
Coasting & freewheeling
Industrial machines coast and still spin long after they need to be turned off. This coasting (or “freewheeling”) can last for minutes and puts machine operators in danger as they still work around the still-operating machinery.
Unintentional restarting
Automatic and unintentional restarts happen when power is lost while a machine is working. When power is restored, the machine starts without assistance. This can be a specialized case of hazardous energy control, but one that’s not solved with typical exclude Tagout procedures. That’s why a drilling process requires means to stop the unintentional restarting of machinery.
Getting caught in or caught by moving parts (nip points)
A nip point hazard is formed when neighboring elements of an instrument reach towards one another and may catch or pull objects in. At-risk are fingers, pieces of clothing, or hair. To prevent such cases, specific requirements for covers on drive shafts and belts have been developed.
Contact with bits
Contact with a drilling bit can quickly result in lacerations and amputation. It can quickly cause lacerations and amputation.
- Engineering controls
- Install an interlocked motor brake to prevent the bit quickly after each operation.
- Install accidental restart prevention.
- Install an emergency stop button.
- Use licensed lockout/Tagout means and procedures.
- Fully guard or enclose all portions of the drilling bit, apart from the working portion.
- Fully enclose all pulley mechanisms and rotating components.
(if dust is produced) Use electric exhaustion or dust collectors, but make sure that they’re pressure-tight.
Administrative controls
- Use screens and sieves while cutting to be as far from the hazard as your work lets you.
- Before starting to cut, make sure that you have adjusted the peak of the blade guard properly.
Personal protective equipment (PPE)
- Protect your eyes.
- Wear the other PPE appropriate for the task.
Drill Press FAQ
When buying your first drill press, you’re likely to have some questions about its range of use.
Q: What are the 5 safety rules for a drill press?
A: Here are 5 simple rules for safe drilling:
- be sure you have an emergency-stopping device,
- beware of “freewheeling”,
- prevent the unintentional restarting,
- use special screens and covers to eliminate the nip point hazard,
- preclude straight contact with a bit.
Q: How do you secure a wood drill press?
A: A drill press is one of the safest instruments, however, you should know that proper engineering and administrative controls, as well as using PPE, will secure your drill work completely.
Q: Does a drill press need special bits?
A: A drill press is employed for boring holes into various materials starting from wood to metal. Therefore the bit must meet the need of your work. For wood, there are brad-point bits, Forstner bits, taper and countersinks, self-centering bits, twist bits, and spade bits. Choose them wisely.
Q: Can a drill press work metal?
A: Yes, a drill press does work metal, although not all drill presses are able to. So for the purpose of risk-free and effective metal drilling, a press will have to move into lower RPM numbers which rule out most hobbyist 5-speed drills ─ especially when it involves drilling into hard metal.
Q: Are you able to mill with a drill press?
A: Trying this is not advised. The bit on a miller is meant to spin at speeds of 15000 RPM or faster, while the top speed of a drill press is around 3000 RPM. On a miller, the fabric is attached to a movable table in order to maneuver the fabric safely. The table for drilling must be stationary.
Q: Are you able to use a mortising bit in a drill press?
A: Mortise bits are unrestricted to be used with drill presses. They can save your time once you have to cut an aperture with square sides.
Q: Is there a possibility to change the speed on a drill press?
A: Drill presses include speed adjustments that allow drilling at a speed of 250-3000 RPM.
Summing Up
I hope my recommendations helped you to define the type and range of your future work. Now you know how to use a drill press, what cautions must be executed while working and how exactly your drill press will work in your space. If you still have questions, feel free to ask in the comment section. I wish you good luck with your work!