What size nails do you use for installing baseboards? Are you confused about which nails to use, how many nails to use, or how many nails are required to install baseboards? Are you worried about the workmanship of your baseboards? Do you want to finish the job with professional-looking baseboards?
Professional baseboard nailing requires a good understanding of baseboard installation, construction methods, and the correct tools for the job. When installing baseboards, nailers must consider the actual size of the baseboard when determining how many nails to use.
To understand what size finish nails for baseboard to use and know the answers to the questions above, continue reading this article. I’ve gotten a lot of comments and questions about what size nails to use for your baseboards. I’ve put this guide together so you’ll know what size nail to use for your baseboards.
What size Finishing Nails for Baseboards Should You Use
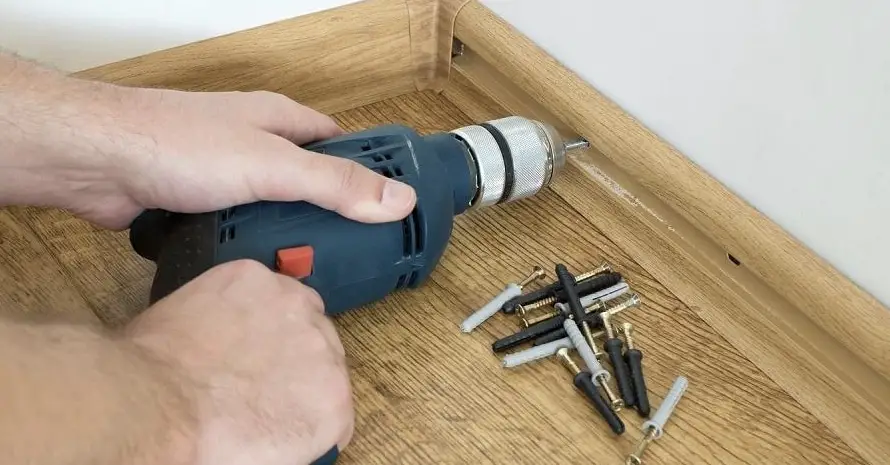
Use nails that are the same size as the moulding. If you are using a thicker baseboard than a 3/4″ (19mm) and are looking for a nail that will hold it without splitting the wood, then 1″ (25mm) nails would be a better choice. If you are using a thinner baseboard than a 3/4″ (19mm) and are looking for a nail that will hold it without splitting the wood, then 5/8″ (16mm) nails would be a better choice.
The most common baseboard nail size is a 16d (commonly referred to as a 1/2″ or 12.7mm nail). In the USA that would be 1 1/4″ (32mm) in length.
16 or 18 Gauge Nailer for Baseboard – What to Choose?
When choosing the best 16 or 18 gauge nailer, you should consider the material you are going to use it with, the type of nails for baseboards, and whether you want the nailer to be pneumatic or cordless. The nail size for the baseboard is the most important factor to consider.
A 16 gauge nailer is used for smaller nails that are 1 to 3 inches, while an 18 gauge nailer is designed for larger nails that are 1 to 2 inches. The nailer should also be lightweight, so you can easily handle it.
Typically, a 16-gauge nailer is used for interior trim or furniture and an 18-gauge nailer is used for light-duty jobs, such as installing baseboard. The 16-gauge nailer is thinner than the 18-gauge nailer.
How to Nail Baseboard
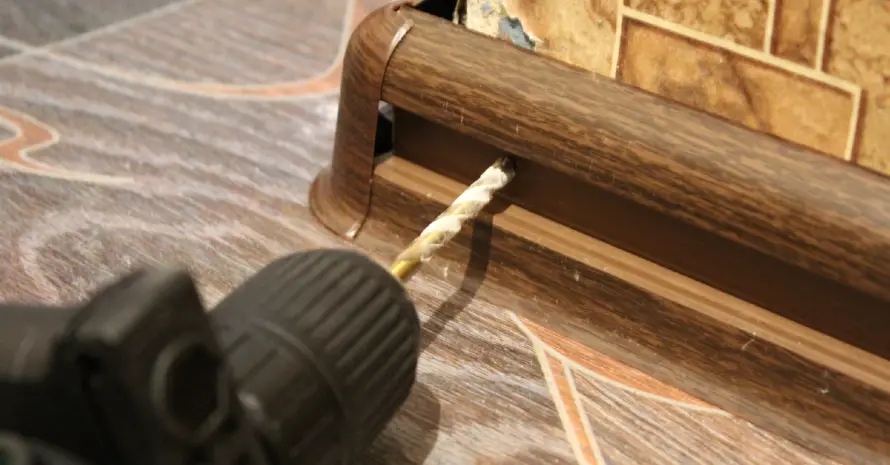
The baseboard is not installed for any structural purposes, but it is very important that it is installed properly. If the baseboard is not properly installed, it will bow over time and cause door jams to not close properly. If you are planning to install a baseboard, then you will need to know how to properly nail it to the floor.
- Step One: The first step in properly nailing the baseboard is to measure the length of the room. For each piece of baseboard, you will need to measure the length and the height. Once you have measured the length and height of the baseboard, you need to mark the baseboard with a pencil. This will help you to install the pieces of the baseboard evenly.
Once you have marked the baseboard, you will need to use a stud finder to locate the studs on the wall. This will be very helpful because you will know where to nail the baseboard.
When locating the studs in the wall, you will need to make sure that you locate the center of the stud. This will keep the nails from breaking in half when you are installing the baseboard. In addition, you will need to make sure that you are locating the stud at a point that is above the baseboard height. This will allow you to nail the baseboard to the stud so it will be sturdy. - Step Two: Then you will need to use a level to make sure that the baseboard is level with the floor. If the baseboard is not level with the floor, then it will cause the baseboard to bow over time.
To make sure that the baseboard is level with the floor, you will need to place the level on the floor at the end of one of the pieces of the baseboard so that it is touching the baseboard and the floor. If the baseboard is not level with the floor, then you will need to hammer it down. - Step Three: Once you have determined that the baseboard is level with the floor, you will need to mark the studs with a pencil directly above the baseboard. This will allow you to nail the baseboard to the studs.
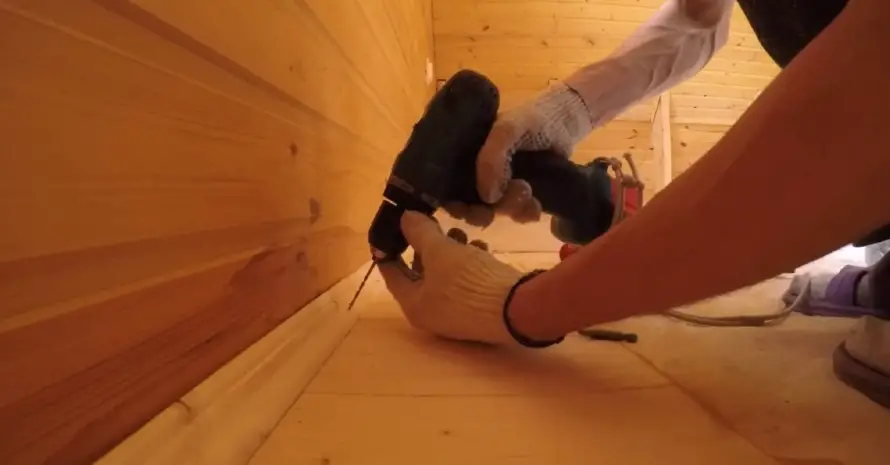
- Step Four: Now you can start nailing the baseboard to the studs. You will need to use a hammer to drive nails into the studs. You will want to hammer the nails all the way into the studs. This will allow the nails to hold the baseboard up and prevent the baseboard from bowing over time.
- Step Five: After you have finished nailing the baseboard to the studs, you can start installing the baseboard to the floor. To install the baseboard to the floor, you will use a nail set.
You need to set the nails completely flush with the wood, so you will need to place the nail set under the nail and hammer it in. This will set the nail completely flush with the wood, allowing the nails to hold the baseboard up to prevent it from bowing over time. - Step Six: After you have finished installing the baseboard, you can apply a layer of caulking to the bottom of the baseboard. This will give the baseboard a finished look. Caulking is a flexible sealant that is used to seal gaps in the wall and floor. It will also help to hide the nails that are holding the baseboard up.
- Step Eight: The last step in installing the baseboard is to use a paintbrush to paint the baseboard. This will give the baseboard a finished look.
Choose Right
There are many different sizes of finishing nails for baseboards. It is important for you to choose the right size of finishing nails for baseboards so that you will not damage the surface of the floor or the baseboard. I hope this information was helpful. Please leave a comment below and let me know if it was.