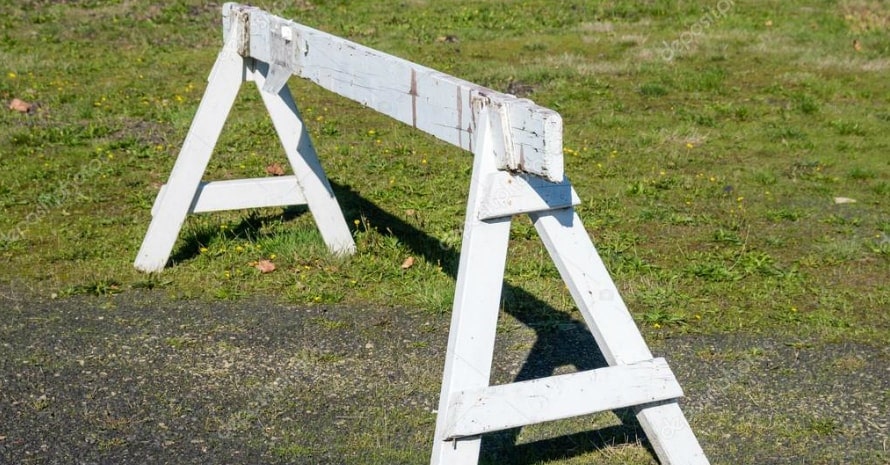
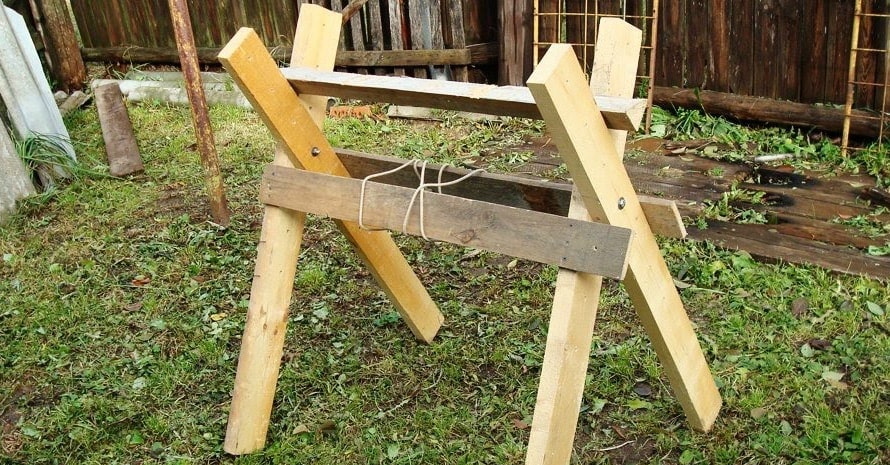
In a house or professional workshop, you can not do without wooden horses. This multifunctional tool can be turned into a table, a wood painting stand or door stand, support for any long materials, and much more at any time. The solution to how to make sawhorses appears easier than it may seem at first glance. Why spend money to buy a new tool when you can build a sawhorse of your own handy materials? In this article, you will learn how to make a sawhorse with step-by-step instructions.
How to Make Sawhorses?
Contents
All you’ll need is a screwdriver, saw, building pencil, tape measure, and self-tapping screws for making sawhorses. Also, you’ll need a clamp or other tool to fix the boards for binding. If you have everything you need to build a structure, use the DIY sawhorse step-by-step instructions.
Step 1: Pick the right size lumbers
You can make homemade sawhorses from planks that lie in your yard. The design will be stronger if you make it from new 2×4 inch boards. A 2×8 pine will also do – it will be even more potent, but it is only necessary to work with heavy tools.
Assemble an easy sawhorse of ten 30-inch boards and four 32-inch boards. You can buy new 8″ boards and cut wood from them to build your own sawhorses.
Step 2: Build the I-beams
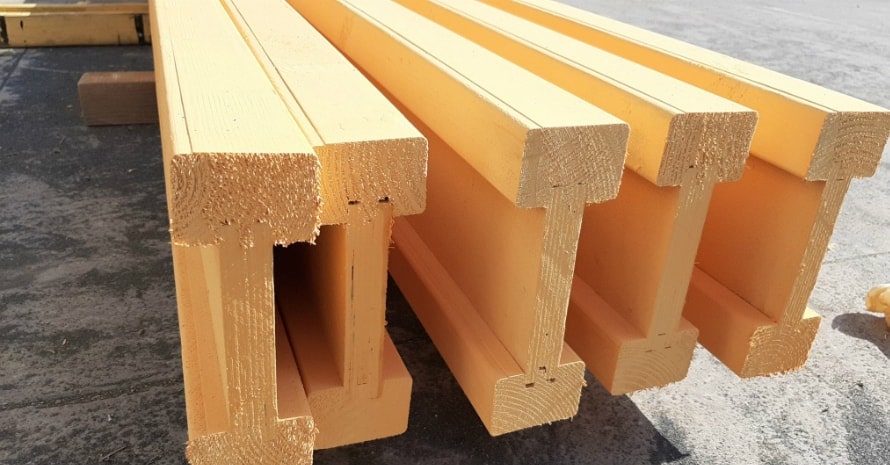
Have you prepared the right size boards? After that, you need to assemble the structure of the I-beam. It will be the support, which will have the main load. Take a 30-inch board and put it on a side rib. Attach the 32-inch boards on a flat plane with a 90-degree angle at the bottom and top with a few screws. You should get an “H” shape. For the reliability of the structure, you need to assemble a second similar I-beam, which then, together with the legs, will be fixed at the bottom. It will give the structure strength and stability.
Step 3: Attach the legs
The final stage – fixing the legs on the I-beams. To do this, take the 30-inch remaining boards and glue them under the I-beams’ top protuberance with the edge on four sides. Legs will be at an angle because of the lower projection of the board. Fix them to the base with four self-tapping screws. Repeat this process with the second I-beam. You should be able to make two small beams, each with four legs. Place the sawhorse on top of each other to make a solid construction. You can bond them together if you like.
Paint the wood to decorate the sawhorse. You can also place a cloth or carpet on the top surface to avoid scratching the materials you are working with.
You won’t be able to make an adjustable wood sawhorse according to these instructions. Determine the height from the start to cut the legs to the right length. Here are the parameters for people of standard height. Adjust the value if you are shorter or taller.
Can I make metal sawhorses at home?
Making metal at home is much harder, as this will require either professional welding or drilling metal to secure the structure with bolts. It is not necessary. Sawhorses of wood are functional, inexpensive, and quickly collected.
What wood is the best for homemade sawhorses?
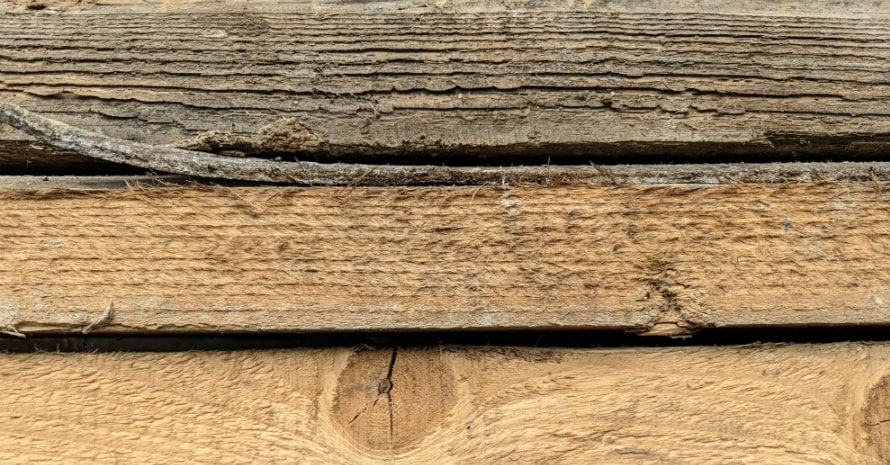
You can use any kind of wood to make sawhorses at home. Most often, pine or ash is used, as this wood is more accessible. The main thing is that the planks are dry, not wet. They should also be flat, not curved (the wood is curved after long periods of storage outside in the sun).
To Make Your Own Sawhorses Sounds Easy Now
It took me a few hours to assemble my first sawhorses in the home workshop. I’m sure it won’t take you more time either. If you decide to give this guide a try, share your results in the comments, please. I will certainly appreciate them!