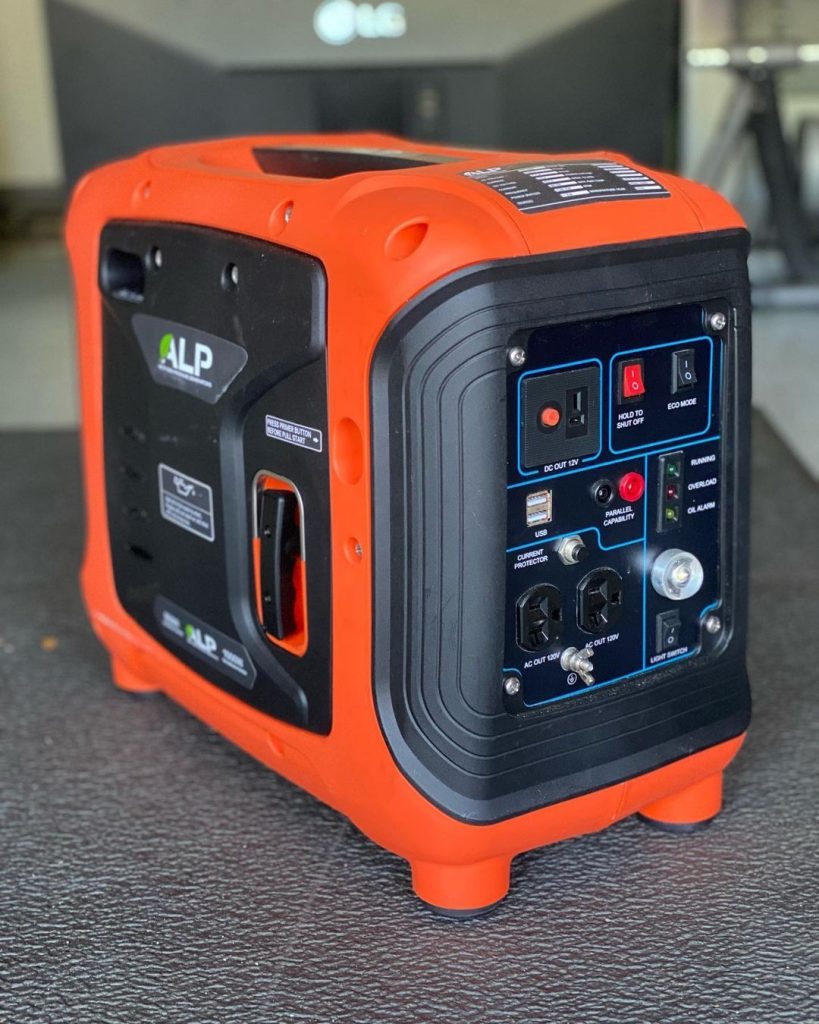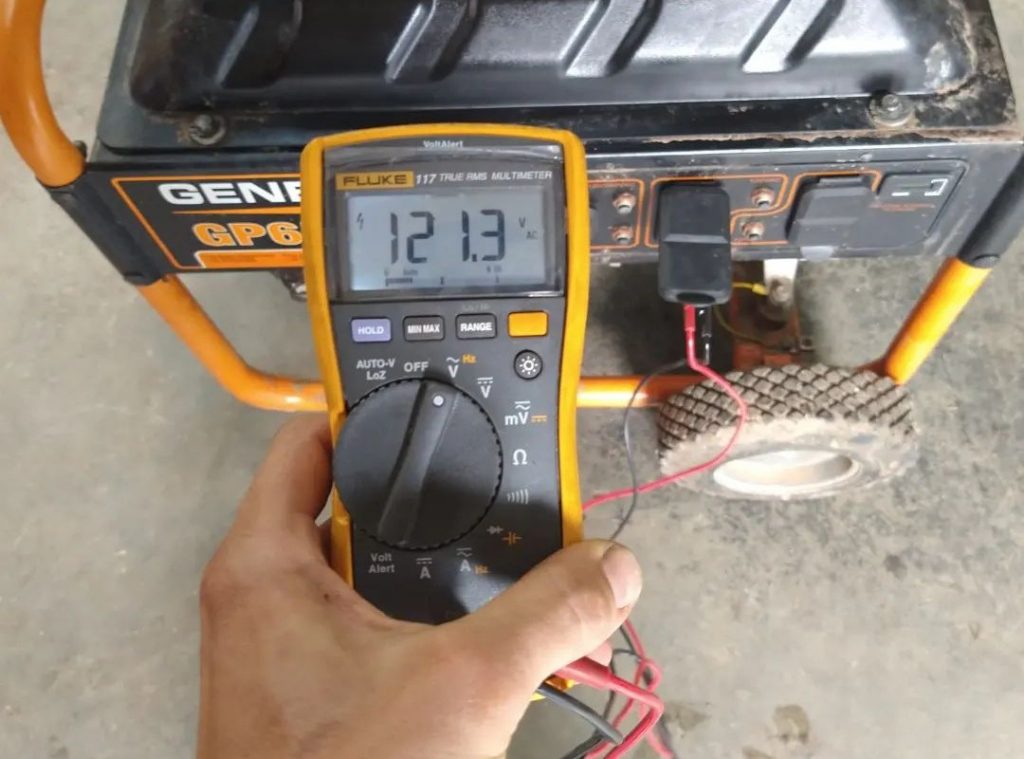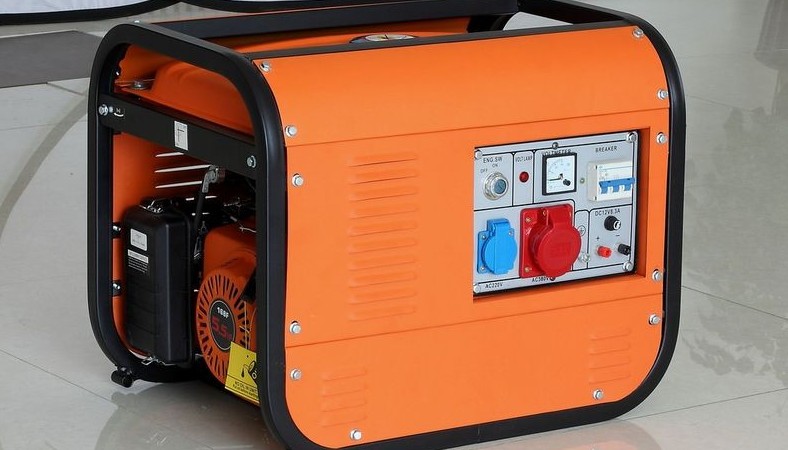
Portable generators are internal combustion engines used to generate electricity. They are typically used when electrical power is needed but not available, such as during a power outage.
The engine drives a generator, which in turn produces electricity. The electricity is then sent through power lines to homes and businesses.
Like any electrical appliance, a generator requires specific rules of use. One of the rules is grounding. This article will examine why you need to ground your portable generator and how to do it properly.
Portable Generator Review
Contents
A portable generator is a device that helps us not to depend on the power supply. Due to its portability, you can take it with you on nature trips.
Portable generators come in various sizes, from small units that can power a few appliances to large units that can power an entire home. They run on gasoline, diesel, or propane.
Why Do You Need to Ground a Portable Generator?
Grounding refers to the connection of an electrical circuit to a reference ground. The generator is no exception. In the case of a generator, its frame acts as an electrical circuit, and a properly installed grounding rod serves as reference ground. You are connecting the copper wire from your generator frame to the grounding rod that grounds the generator for safe operation.
Precautions
It is important to follow all safety instructions when using a portable generator. Never operate a generator indoors, as the exhaust fumes are poisonous. Keep the generator dry, as moisture can damage the electrical components.
If you are using a generator to power your home during a power outage, disconnect all appliances and devices from the home’s main electrical panel before starting the generator. Never plug a generator directly into a wall outlet, as this can cause an electrical fire.
If you are using a portable generator, be sure to keep it in a well-ventilated area. And be sure to refuel it outside, as gasoline fumes can be explosive.
How Did Grounding Work?
The principle of grounding is based on the grounding device reducing the potential difference to a minimum value between some grounded object and natural earth electrodes; when contact occurs, leakage current occurs between some grounded object and a live conductor, which causes disconnection of the electrical circuit by a protective device.
Tools and Materials
A list of tools that will be needed if you are going to do generator grounding:
- Wire stripper set
In order to properly connect the copper wire to the copper rod and generator, you need to strip the copper wire. A good wire stripping kit can help make this process cleaner, safer, and more accessible. In a pinch, a knife or other sharp object will do.
- Solid copper ground wire.
Having enough copper wire will ensure that the wire can be connected to the generator and a copper portable ground rod with a little extra just in case.
- One-meter copper grounding rod.
The most important part of this process. Having the right copper grounding rod makes all the difference in this procedure for adequate grounding. You will need to ensure that the copper grounding rod is at least 1 meter long. You will also need to check how far it will need to be lowered into the ground.
- Hammer
To drive a copper rod into the ground for proper grounding, you will need a good-quality hammer or sledgehammer. Just don’t damage the coating on the copper rod, as this can lead to a bad connection.
- Pliers
To wrap the copper wire tightly around the ground rod, a good set of pliers will definitely help and improve the connection.
- Wrench
When attaching the copper wire to the alternator, a wrench will be used to loosen the bolt on the alternator for a proper connection.
- Shovel
In the case of trying to drive a copper rod into rocky terrain, a shovel can be used to deepen the rod instead.
You will need this portable generator grounding kit every time you ground your portable generator in a new location.
How to Ground a Portable Generator
1. Install a copper grounding rod
Use a hammer or sledgehammer to drive the copper grounding rod a minimum of 2.5 meters into the ground for a proper ground connection. If the ground proves hard, you can use water to soften it.
2. Strip and connect the copper wire to the copper rod.
After properly setting the grounding rod at 1.5 meters, it is time to move on to connecting the copper wire. Using a wire stripper tool, carefully strip the copper wire and wrap it tightly around the copper ground rod with pliers.
3. Grounding the generator
Once you’ve finished stripping and connecting the copper wire to the ground rod, it’s time to connect it to the generator. Carefully strip the other side of the ground wire for the generator to prepare it for connection. Locate the ground bolt on your generator and loosen it enough to wrap the striped wire around it. Wrap the stripped wire around the bolt and tighten it for a tight and secure connection.
Frequently Asked Questions
Here you can find answers to the most popular questions about grounding generators.
What happens if you don’t ground a portable generator?
If you don’t ground a portable generator, it can create a shock hazard for anyone who touches it.
How deep does a grounding rod have to be?
A grounding rod must be driven into the ground to a depth of at least 8 feet.
What can I use as a ground rod?
A ground rod can be made of copper, aluminum, or galvanized steel.
Conclusion
The ground power generator is often used on camping trips in places with no power supply. Grounding a portable generator is a very important part of properly setting up and using your generator (if it requires grounding).
This reduces the chance of any malfunctions and keeps you and your appliances (including the generator) safe. Even if your generator does not require grounding, knowing how to properly ground your generator can help ensure the safety of others.

